
Face Mask with Filter Pocket for Beginners

This description is based on the pattern suggested on the Humboldt Coronavirus Mask Makers Facebook page. There are different needs for different areas so please check with your local hospital for what their requirements are. Information is in flux, so this is what I understand is the most needed design at this time.
You Will Need:
One Piece of tightly woven cotton fabric. Quilters cottons will work great. Cut to 15 x 7.5 inches. Make yourself a cardboard template if you will be making multiple masks.
One pipe cleaner folded in half or 2 plastic coated twist ties (paper will not hold up to lots of washing). UPDATE: try to use a material that will not rust.
Extra wide bias tape or a piece of fabric cut 2 1/2 inches by approximately 9 inches to make your own bias tape.
Braided elastic cut to two- 9 3/4 inch strips. 1/16-1/4 in. works best.

Start by cutting your fabric to the right size. (15x7.5 in) It is easiest to make a cardboard template that you can trace for making multiple masks.

On the short ends (7.5 in.) use a zig zag stitch or serger to finish the raw edge. This will help the mask hold up through washing. Keep the stitch close to the edge. I used a 3 width and 2.5 length.

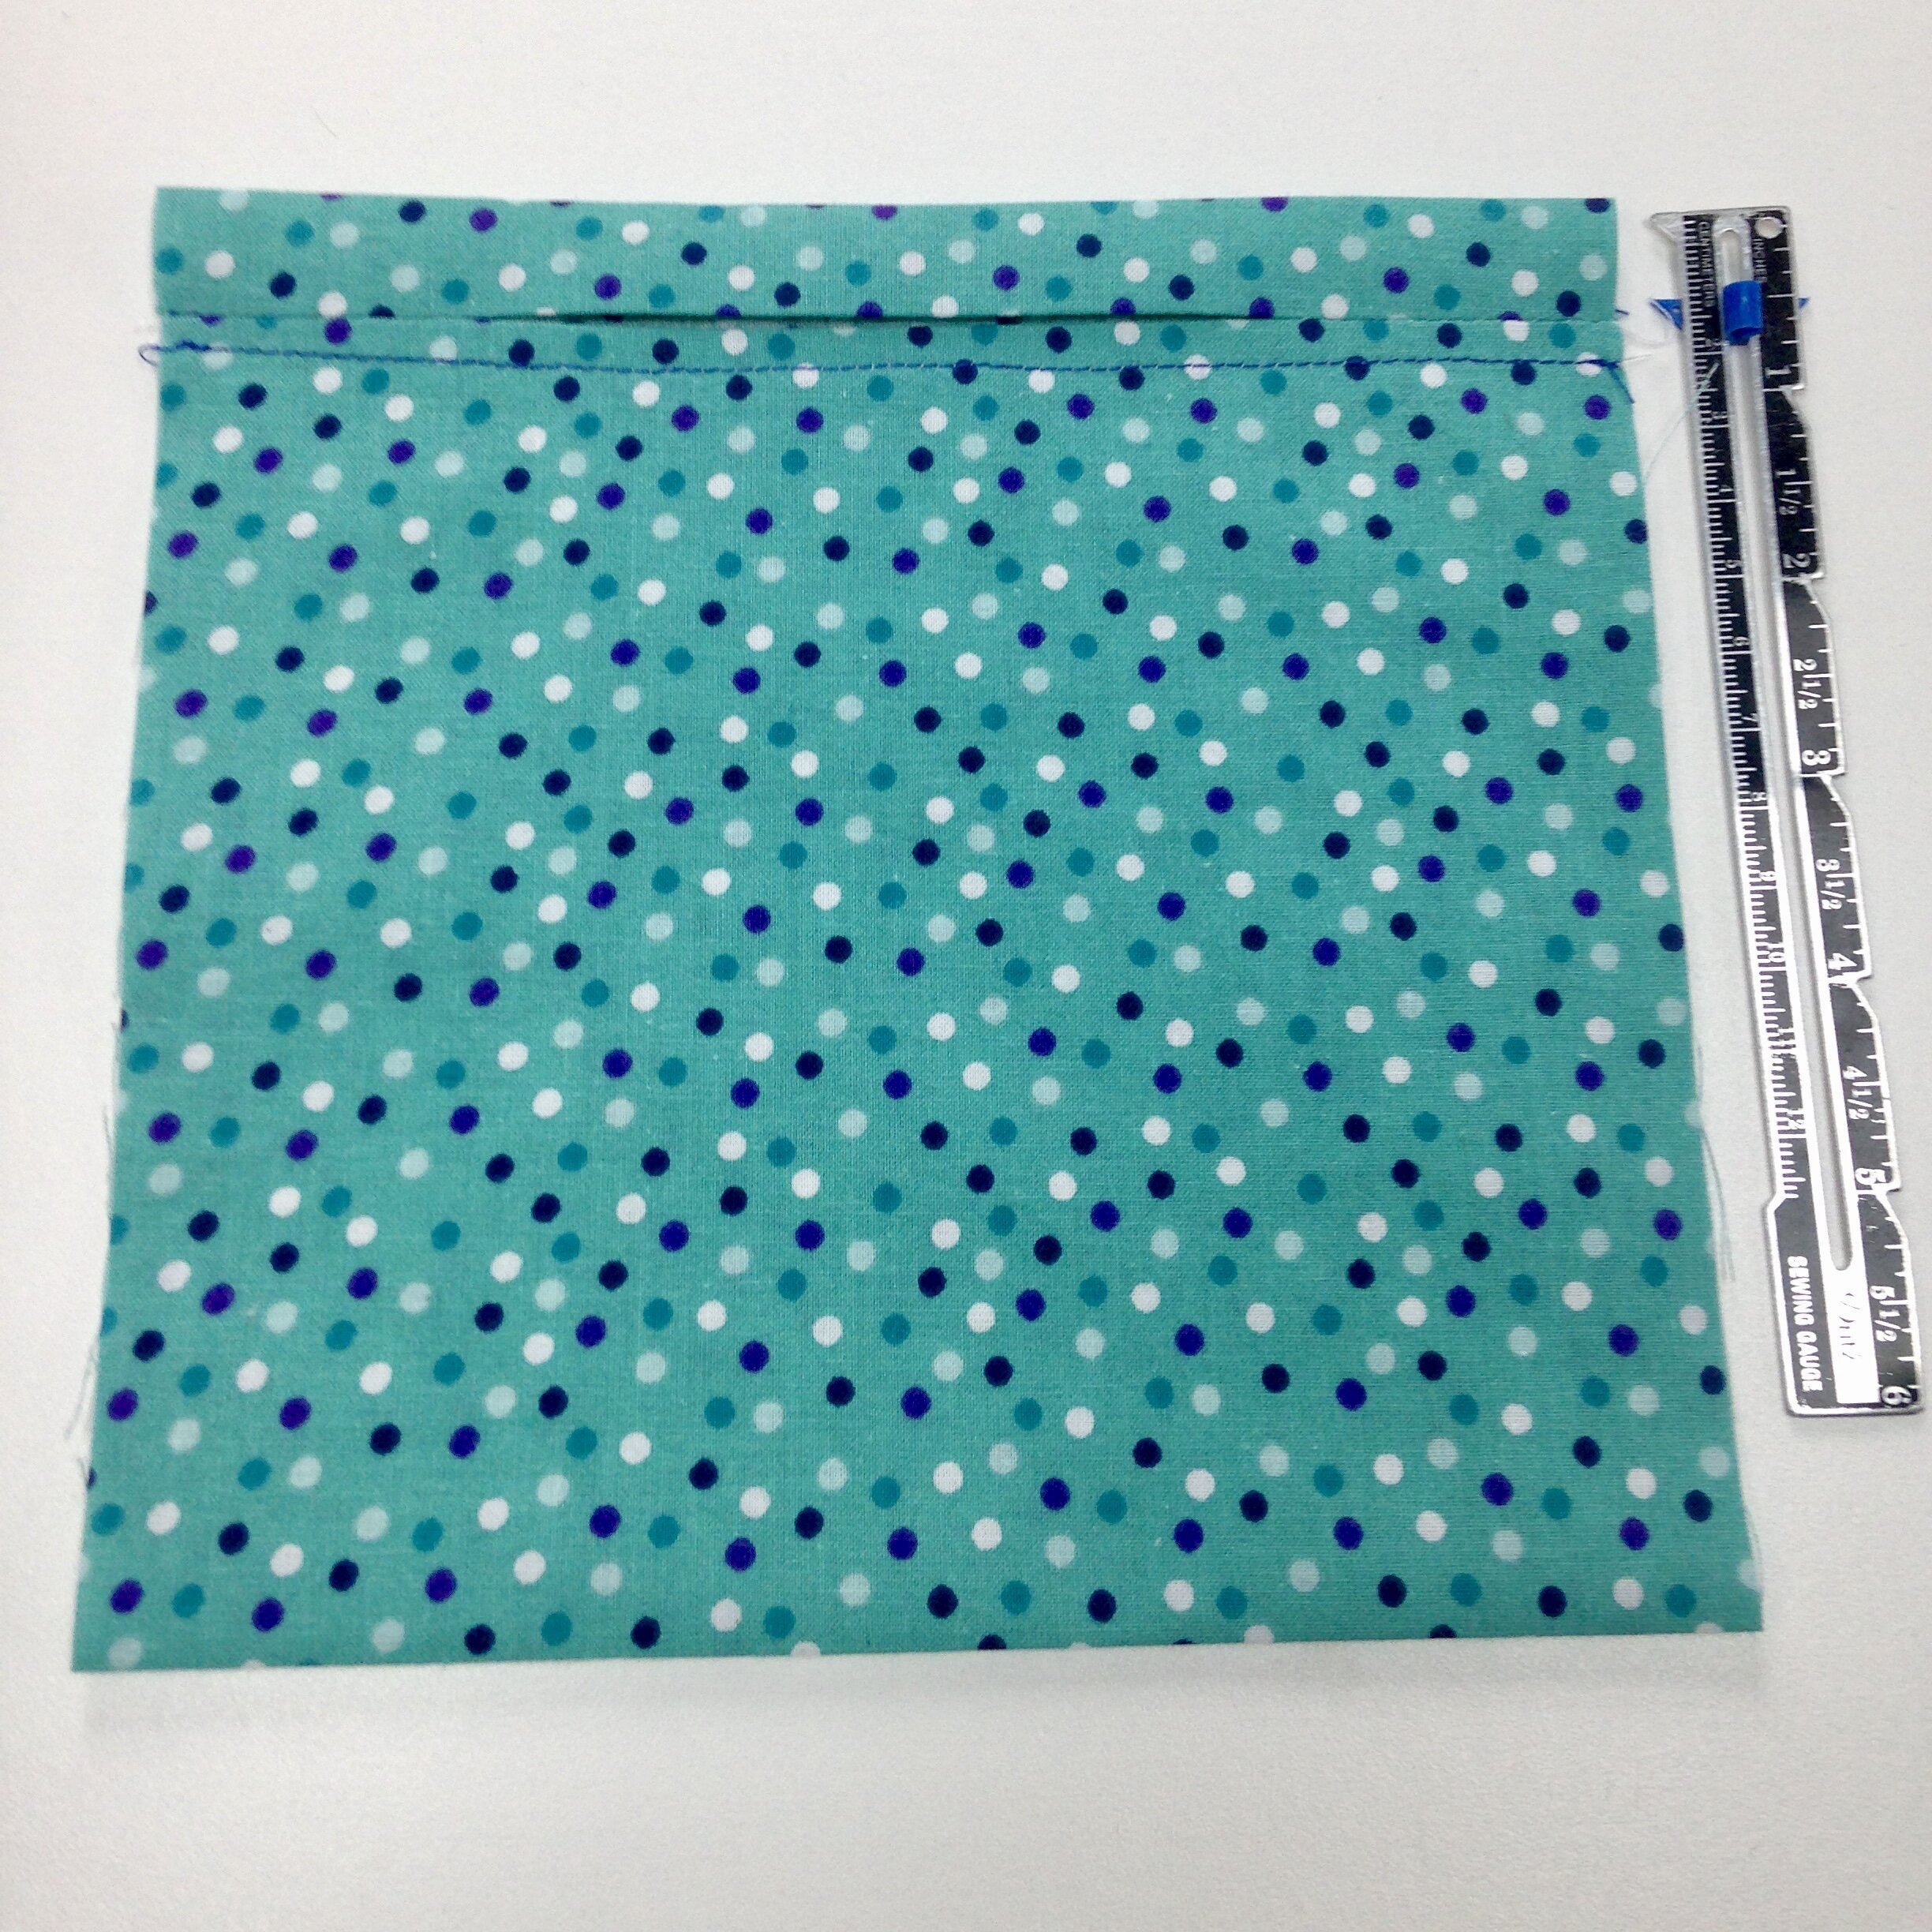
Next, fold your fabric in half, matching up the short sides you just finished. Right sides are to the inside (pretty sides in).
Mark 1.5 inches from outside edge on both sides. Sew with ¼ in seam allowance or just to the outside of your zigzag stitch on both sides. This will be the opening for the mask. Be sure to remember your backstitches here.

Open up the tube you just created and press the seam and gap open. It is helpful if you use your fingers to press it into place first, then iron.

Flip tube right side out and top stitch along one side. Sew 1/8- 1/4 inch from the edge to hold the seam flat. (Sew the side to the left of your seam or once you finish flip the mask so the finished edge is to the bottom of the opening.) Because you are working with a tube be sure to move the fabric on the back side out of the way as you sew so you don't sew your tube together.
Rotate the middle opening so the seam is ½ inch from the top. Your topstitched edge should sit to the bottom of the opening. Press the whole piece really well in this position.
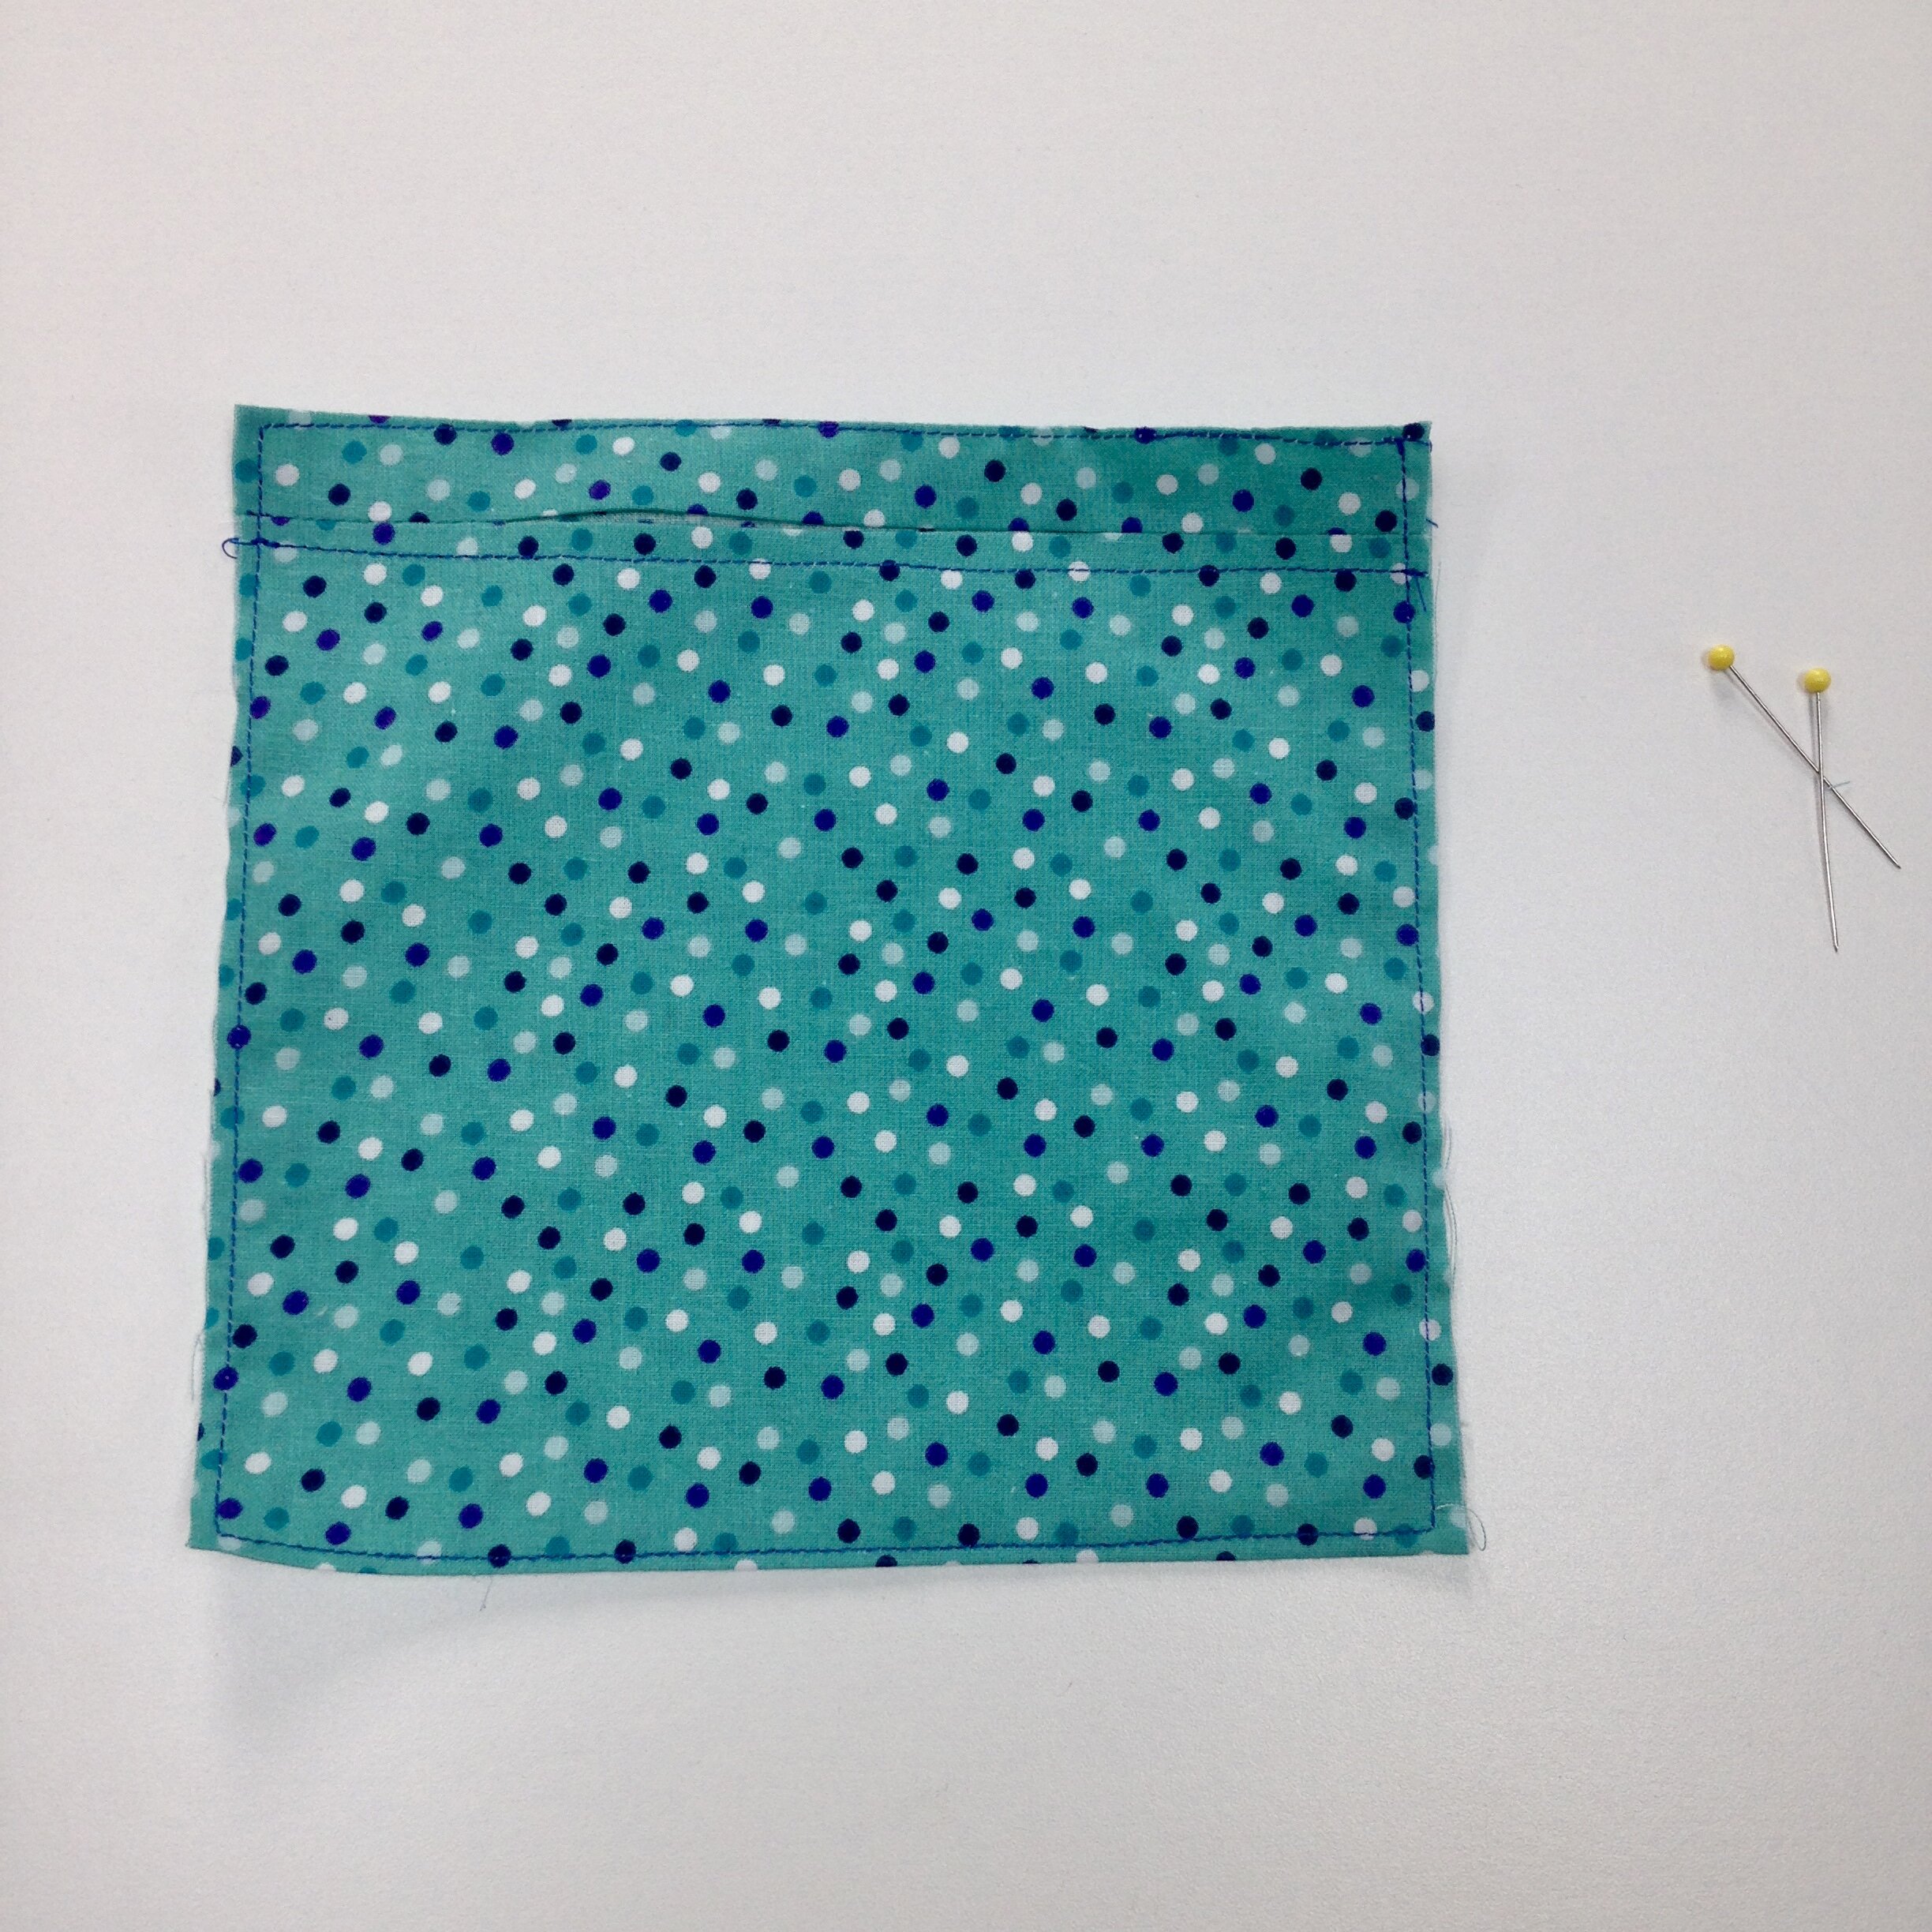
Sew around the entire mask 1/8 inch from the edge. Because you ironed everything really well you should be able to sew without needing to add pins to hold the fabric in place. (Be sure to stay close to the edge along the top as we will need room to put our wire nose piece in.)
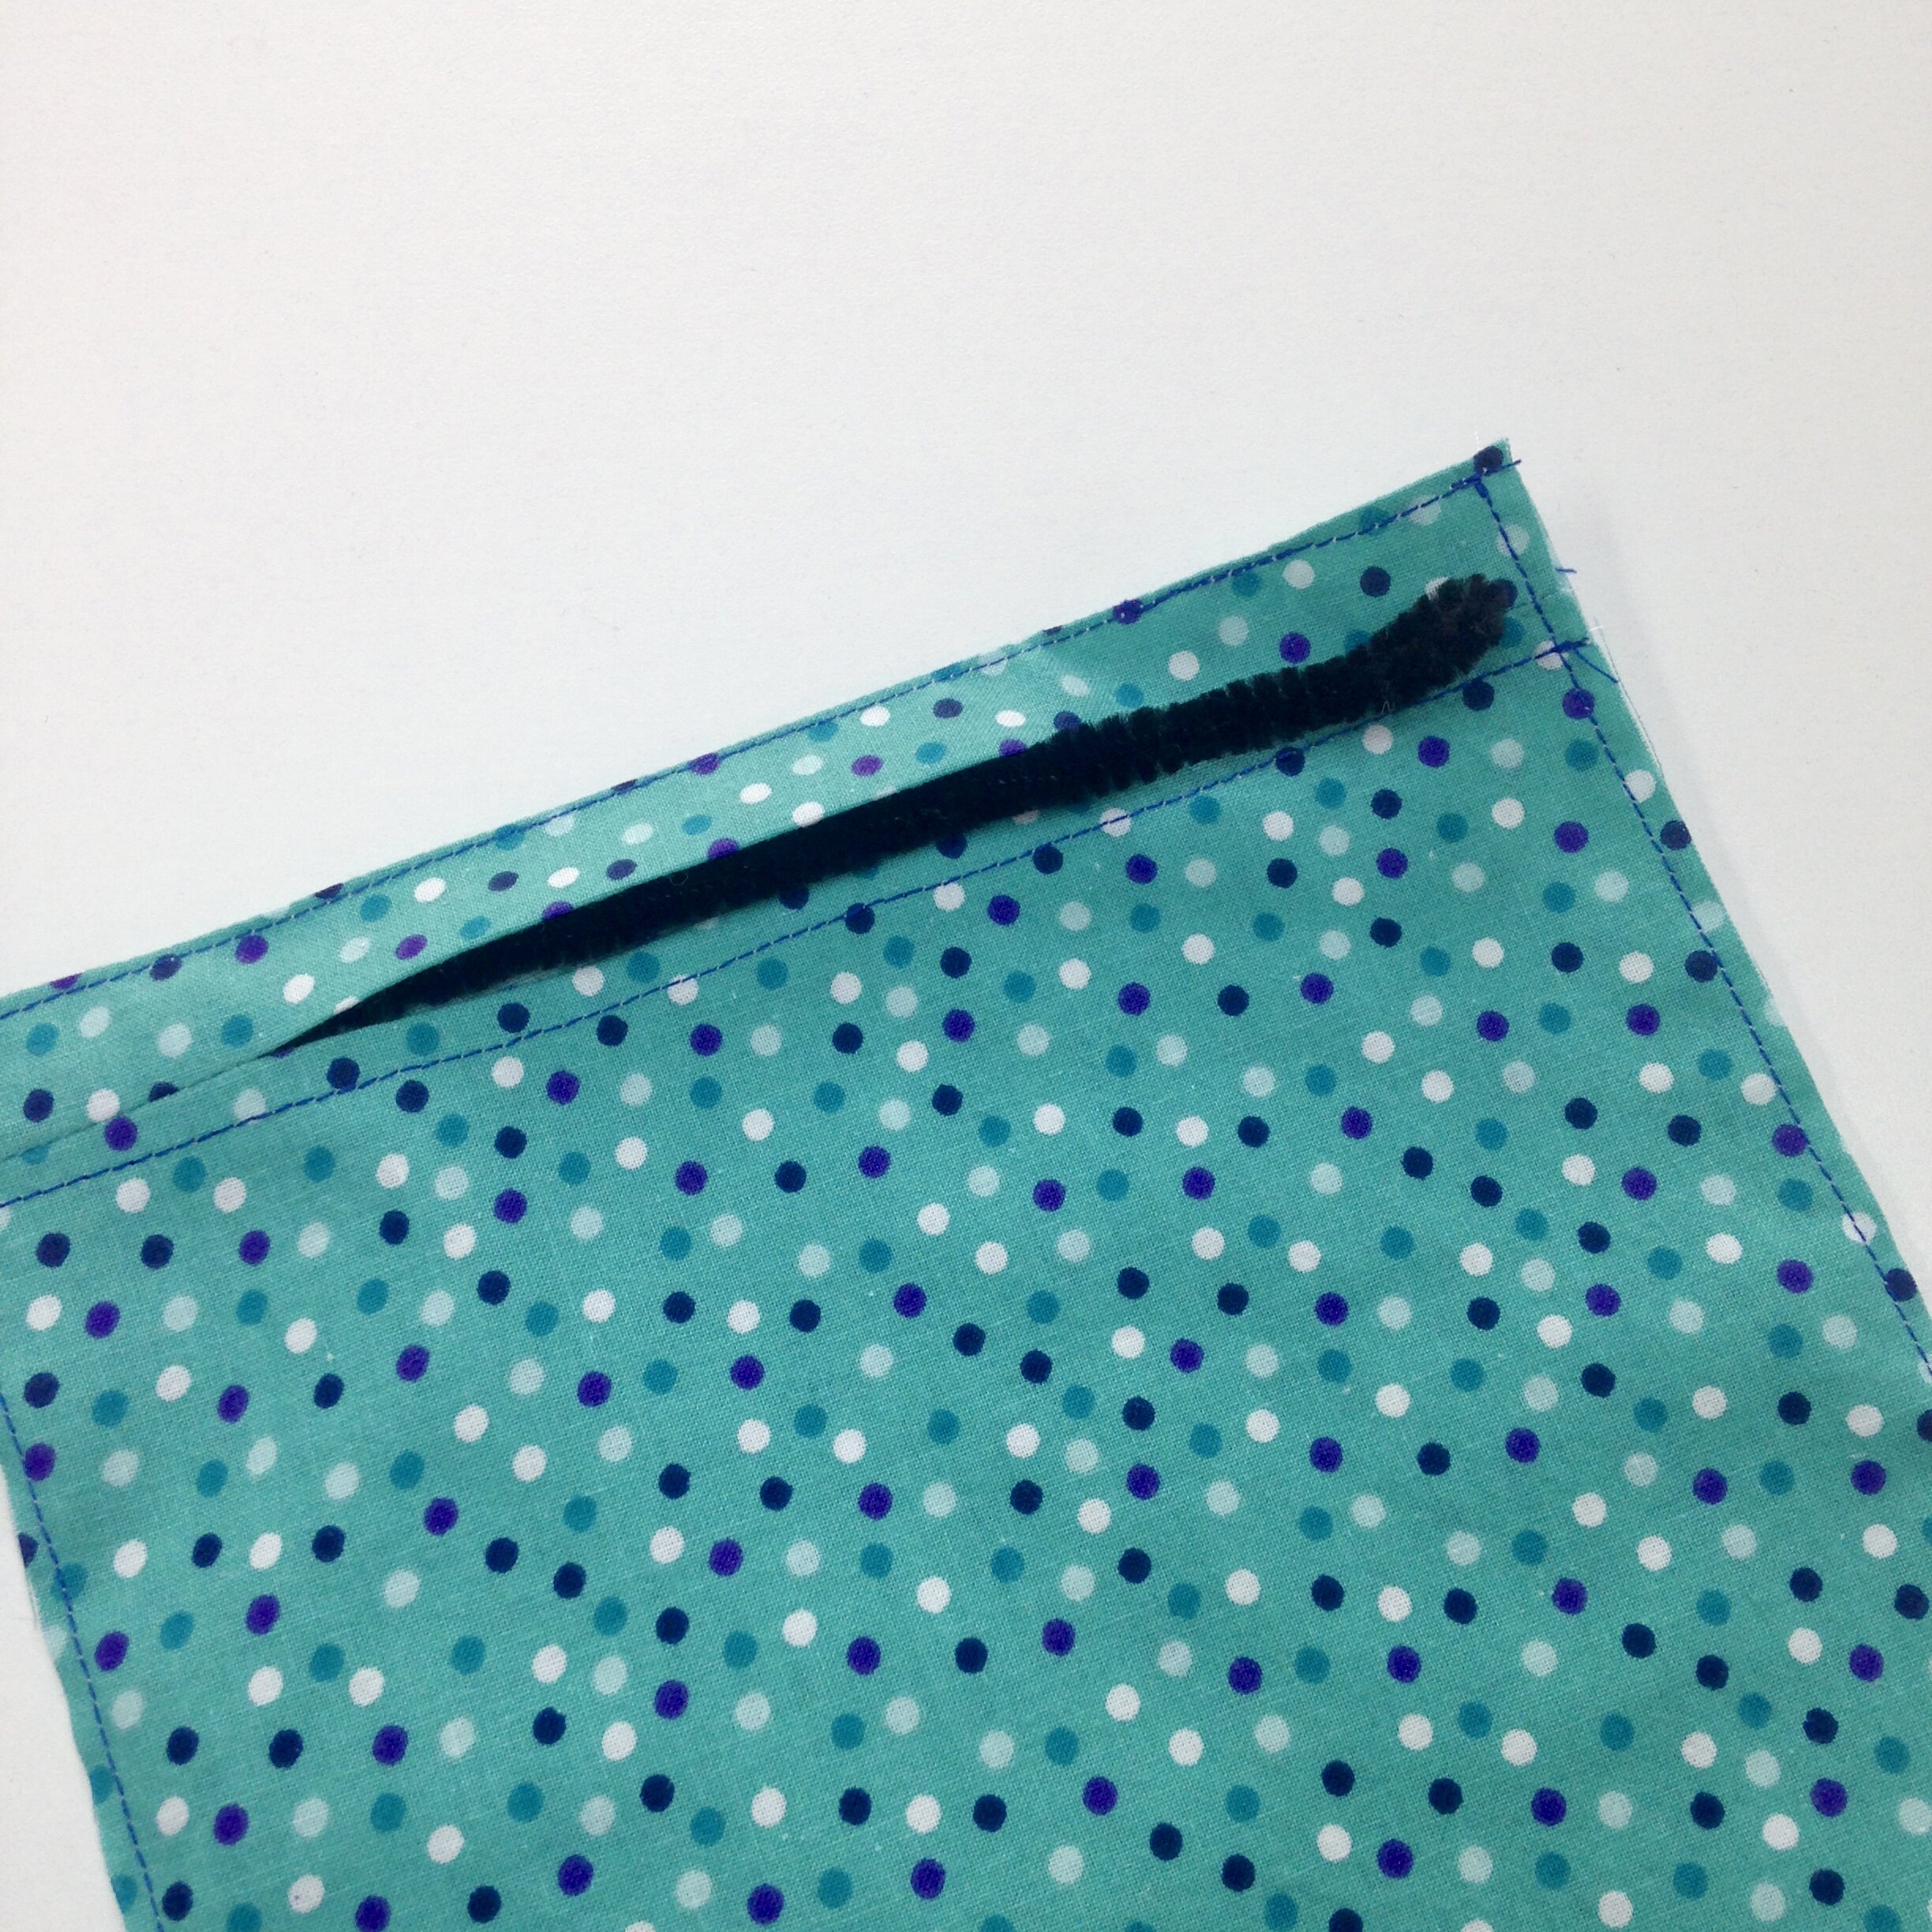
You have now successfully created a casing for our nose wire to go in. I used a pipe cleaner folded in half and twisted together to create extra strength. Tuck your nose wire into the slot and push it up out of your way as much as possible so it doesn’t get in the way as you sew. You will next be sewing along the edge you just tucked it into to hold it permanently in place.

Your wire is now sealed away. You may notice that because of the bulk of your pipe cleaner or other material your stitches may try to slip off of the edge. If this happens add another line of stitches just inside of your previous line.

Flip your mask so the opening is to the back side.
You will now be making 2-3 pleats. This is done by pinching each side and folding DOWNWARD. There is no exact science to it just practice until you get it right. The goal is for the pleats to be the same on both sides so you don’t end up with one side that is longer than the other.
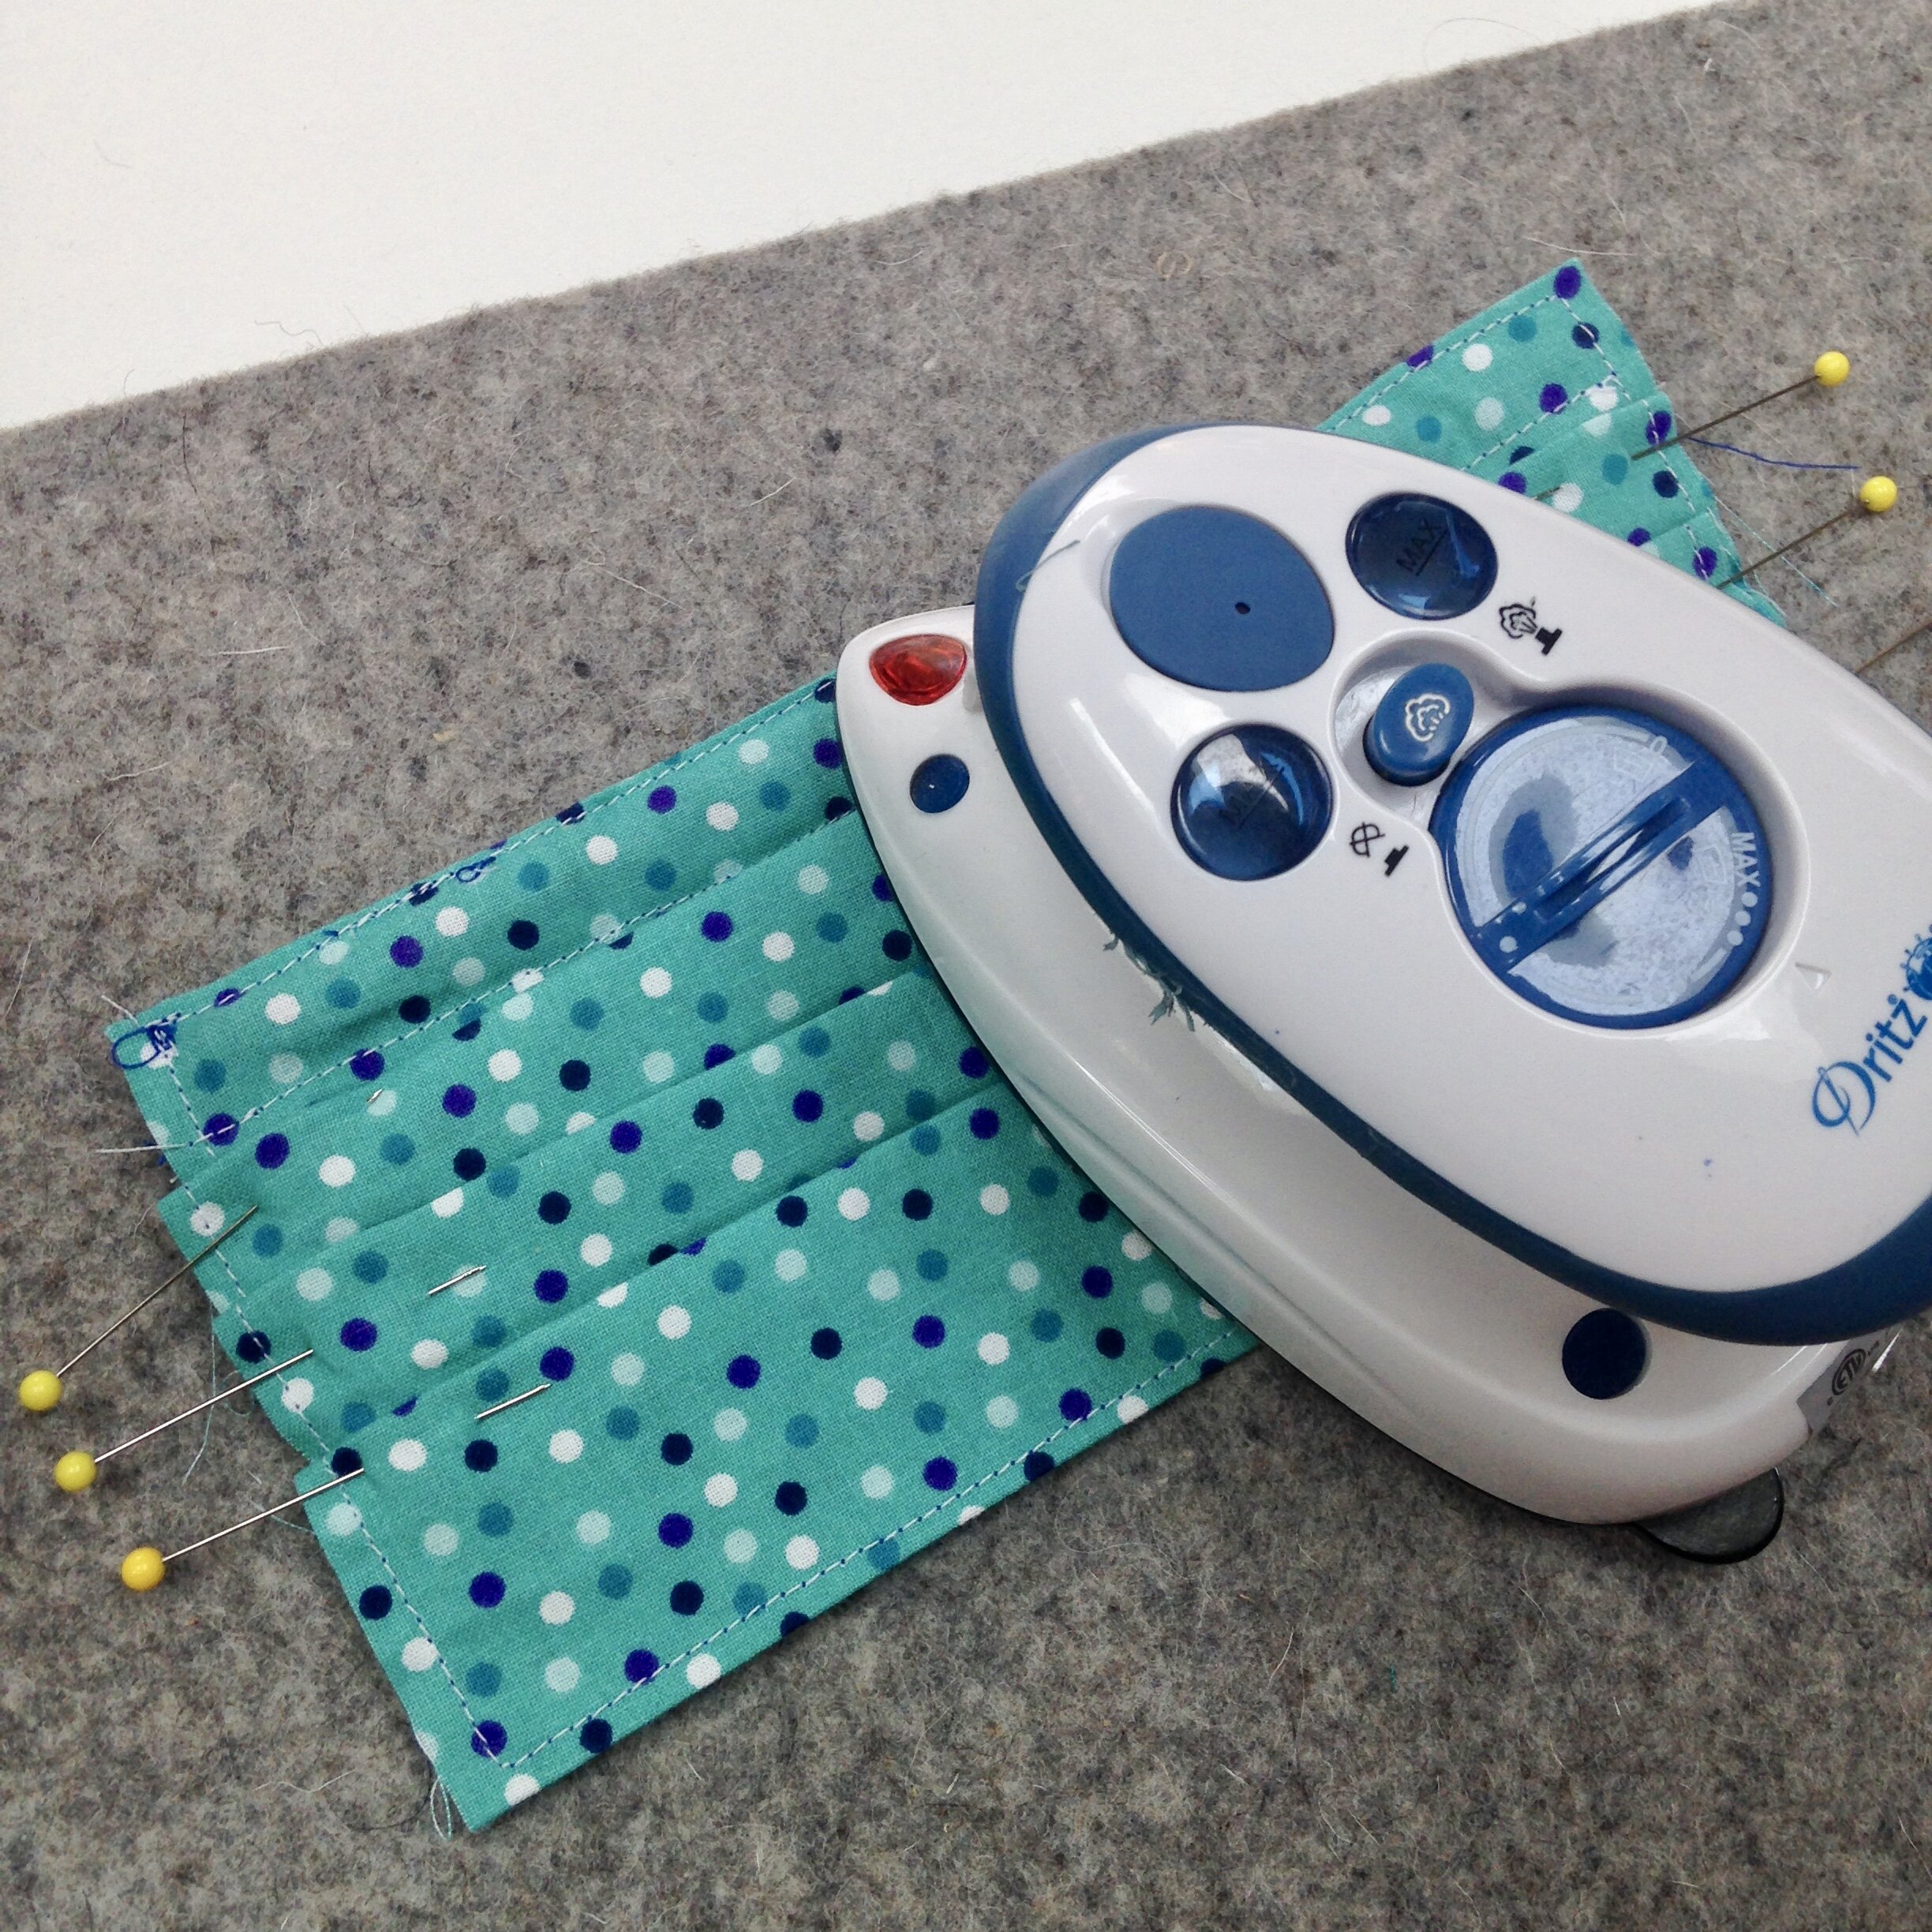
You want your finished side length to be roughly 3-3.5 inches. Use pins or clips to hold in place. Iron the whole piece on both sides so that your new pleats stay flat as you sew.

Sew along the side you have pinned right next to your other stitches about 1/8 in from edge.

Bias Tape
Start by folding your strip in half length wise. Press.
Open the strip up and bring the outer edge in to almost touch the middle crease. Press this side. Repeat on other side.
After both sides have been folded in, fold again on the middle crease to fold in half and iron to create defined creases.
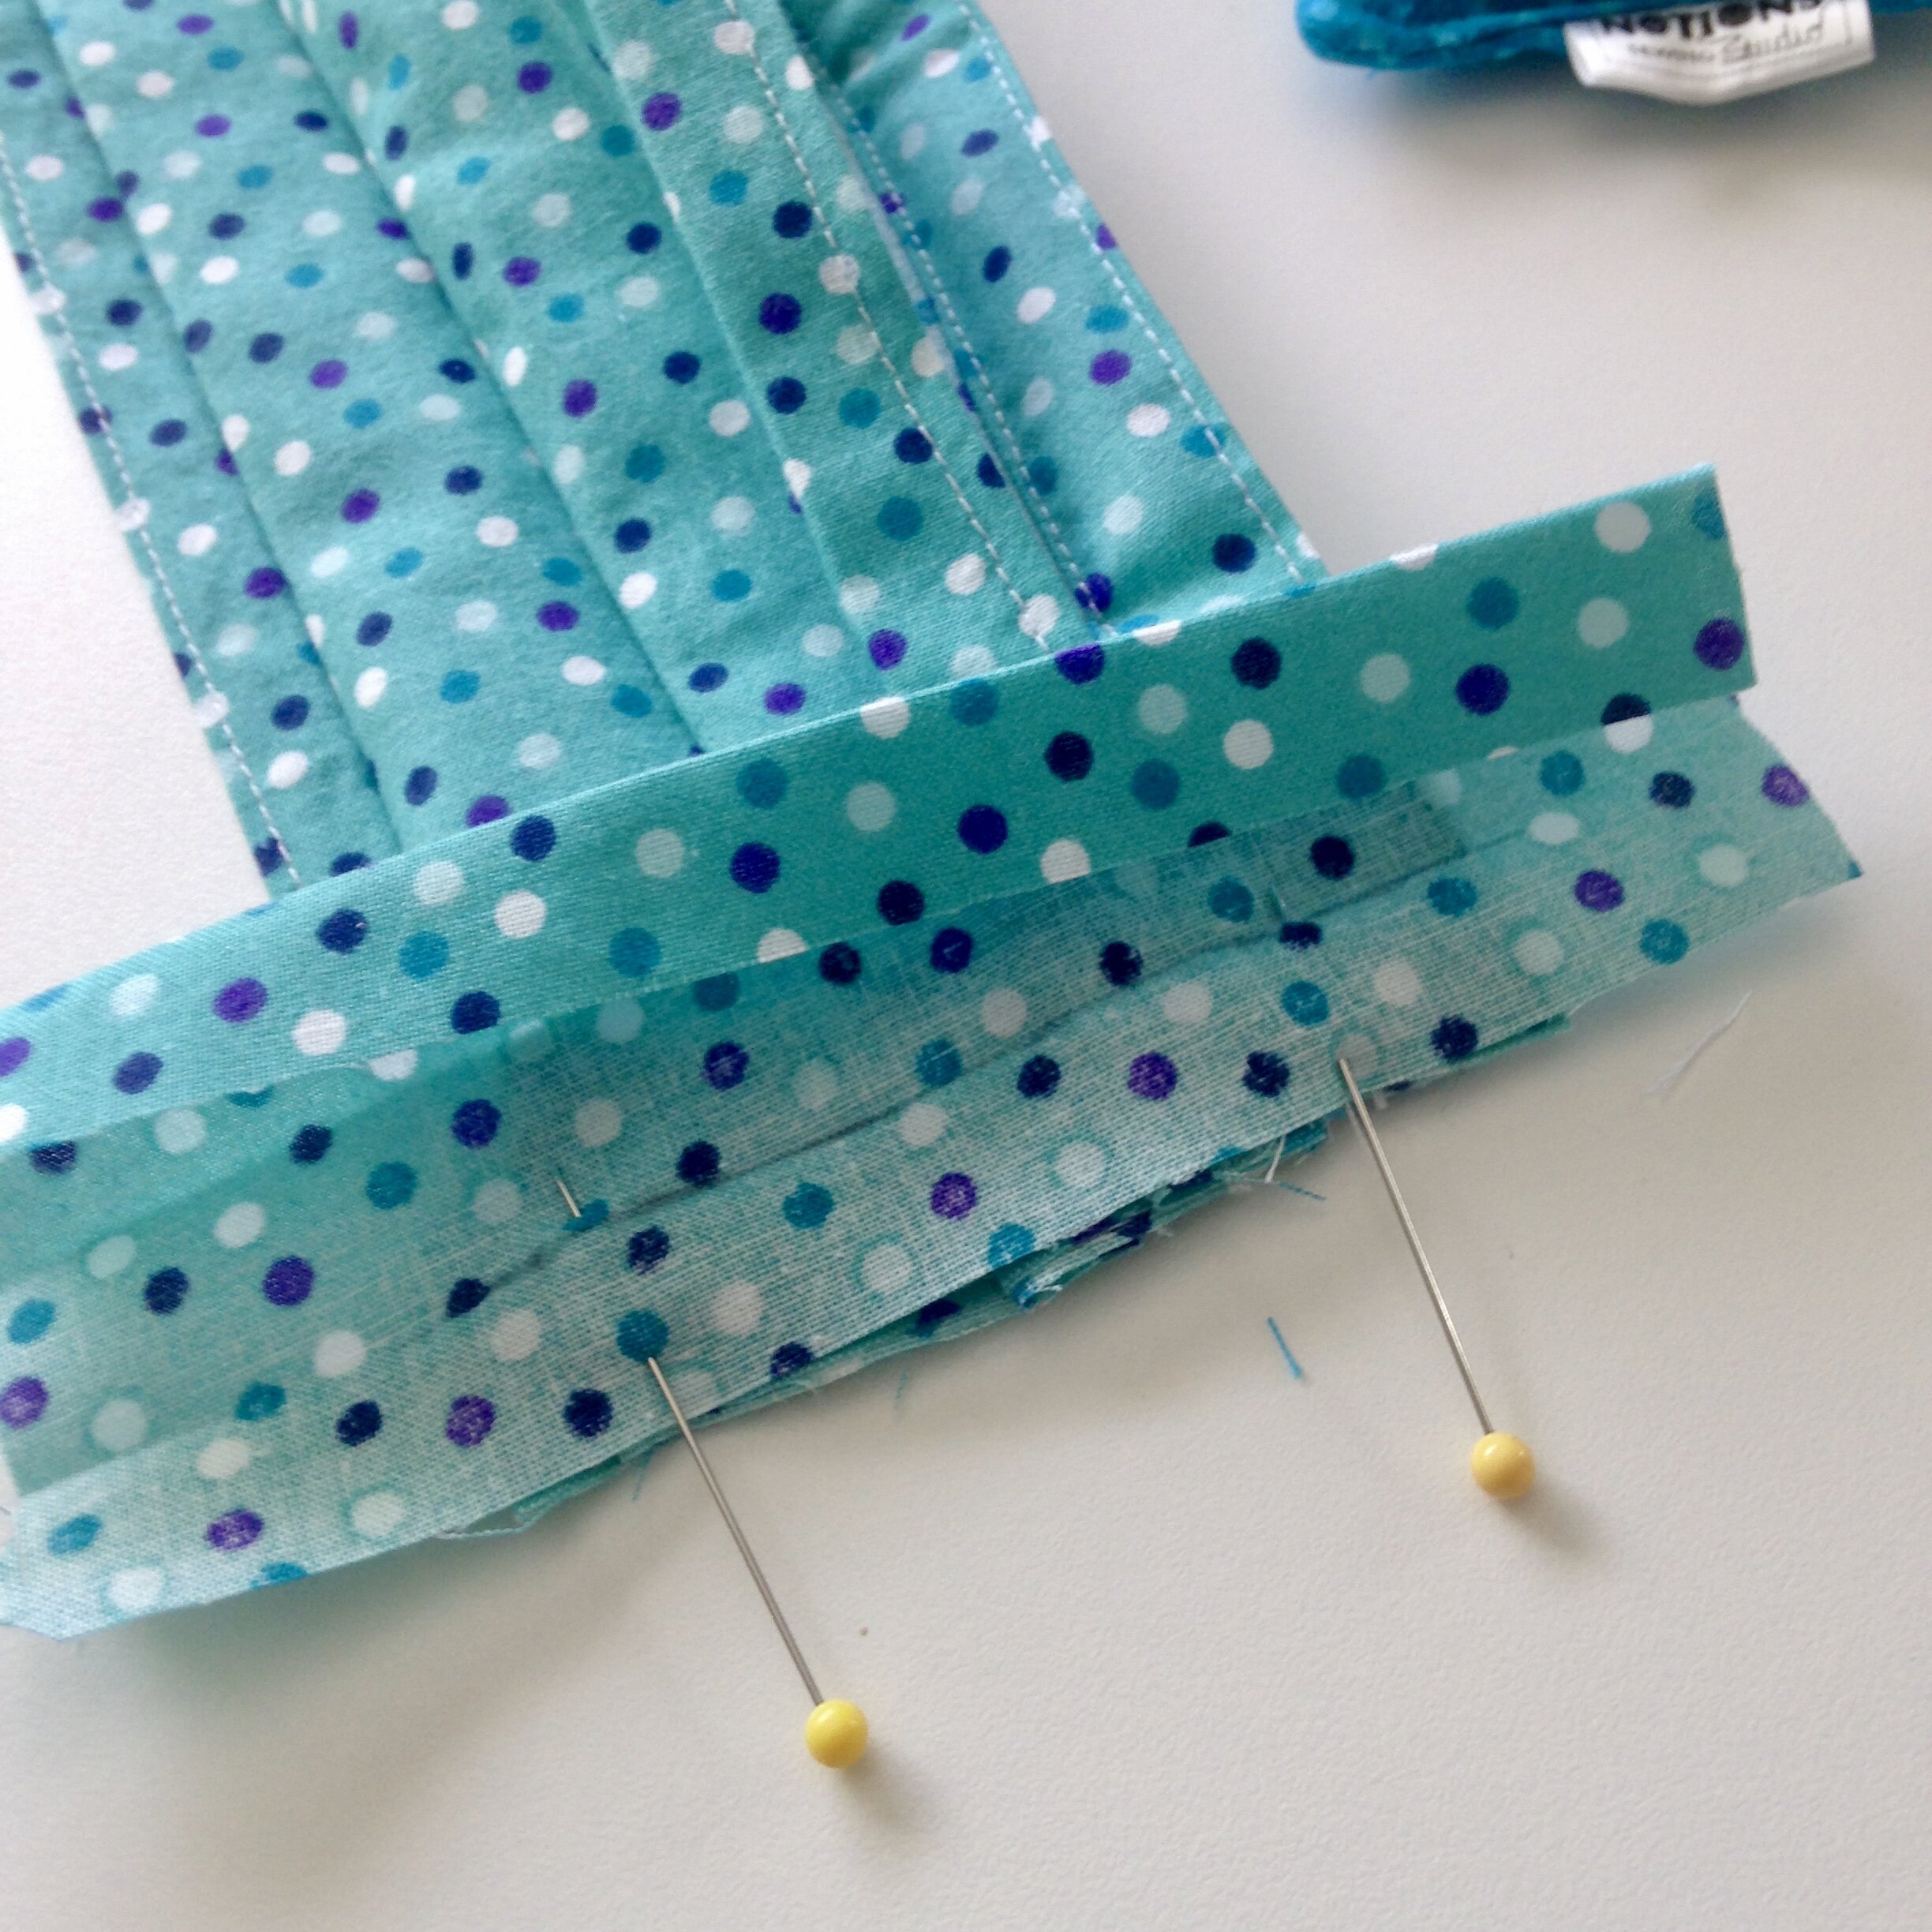
Working from the back side of the mask, open up your bias strip and place it on short edge, lining it up with edge. Leave a 1/2 inch overlap on both sides. If you have more than that trim it down to 1/2 inch.

Fold the overhanging edges around to the back and pin in place. You will be sewing through all layers.
Sew along the crease about 1/2 inch from edge. Sew through all layers.
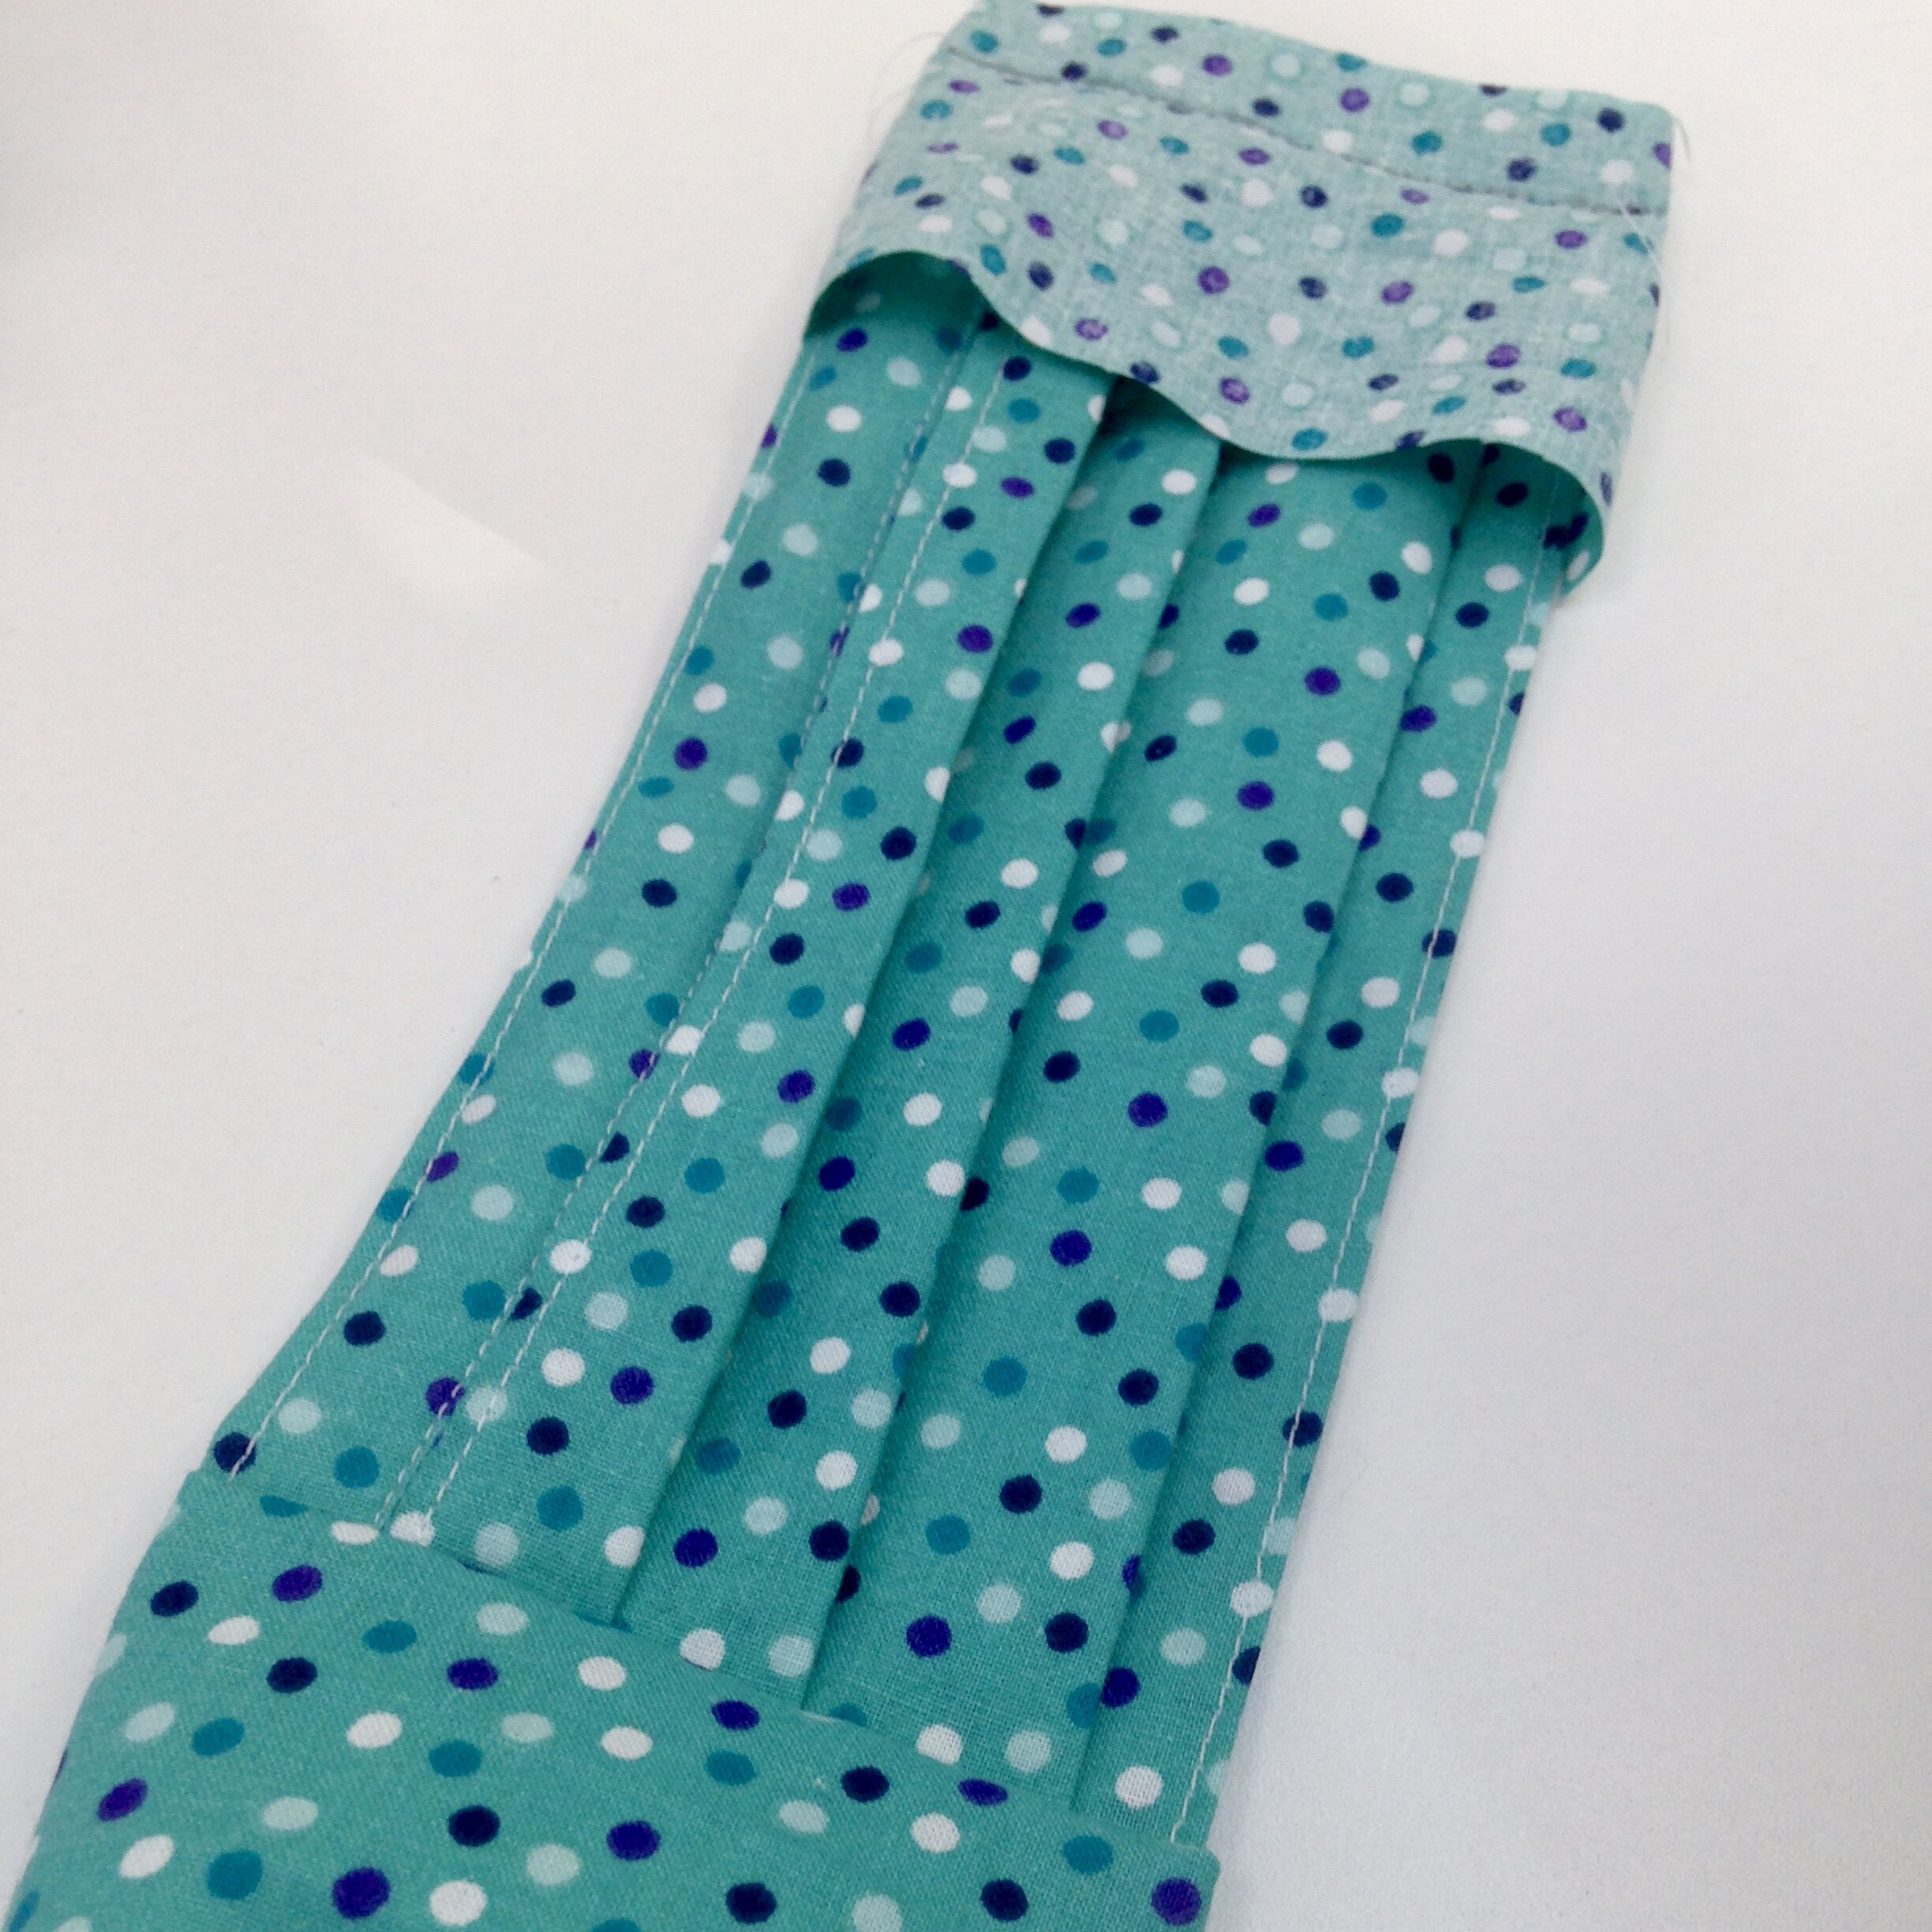
Once finished, flip the binding right side out as seen on bottom of photo.

Flip mask to the back side. Fold side edges inward to match the width of the mask. Fold raw edge inwards to butt up against mask.

Turn binding over on top of itself. You may need to adjust the sides to fold them inward so they don’t hang out the sides. Fold down to just cover the stitches. This should line up with creases.
Be sure to clip your threads!

Once you have your fold right, pin in place then sew. Sew as close to the edge as you can as you are creating the casing/ pocket for your elastic to slide through.
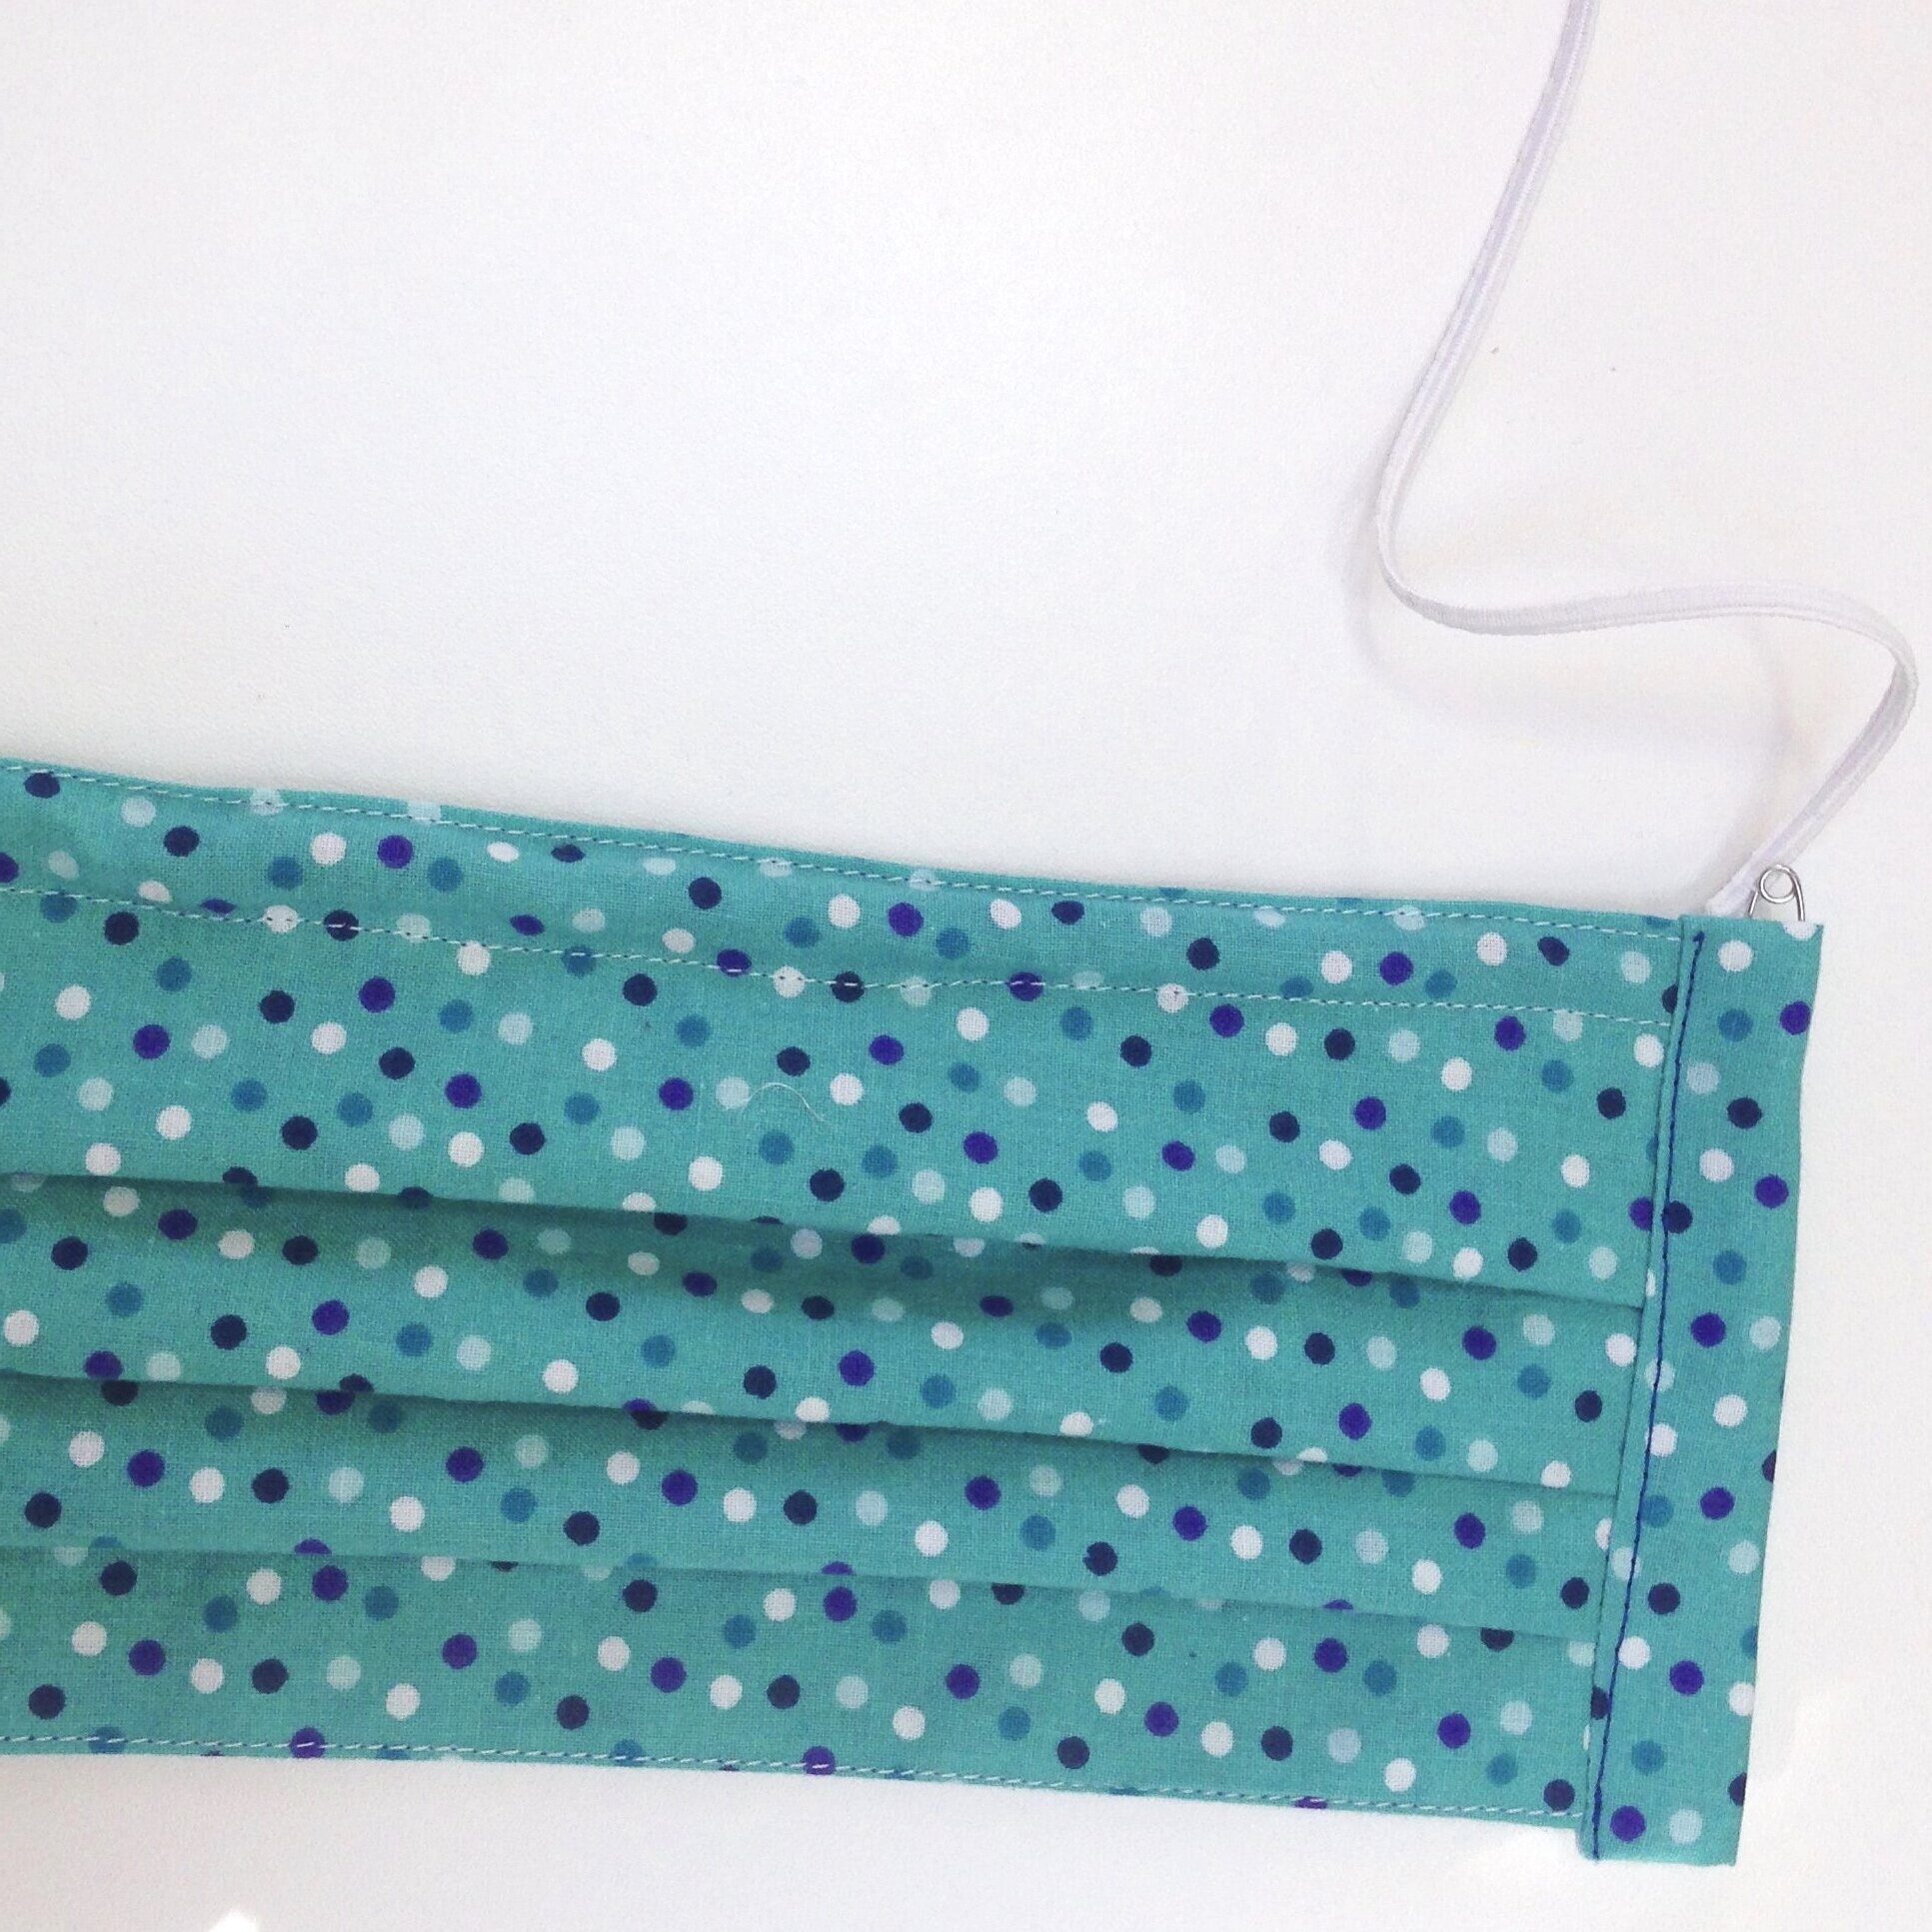
Attach your elastic to a safety pin. Slid it through the slot and tie a knot in the elastic. Rotate the knot so that it is hidden inside of the fabric casing.
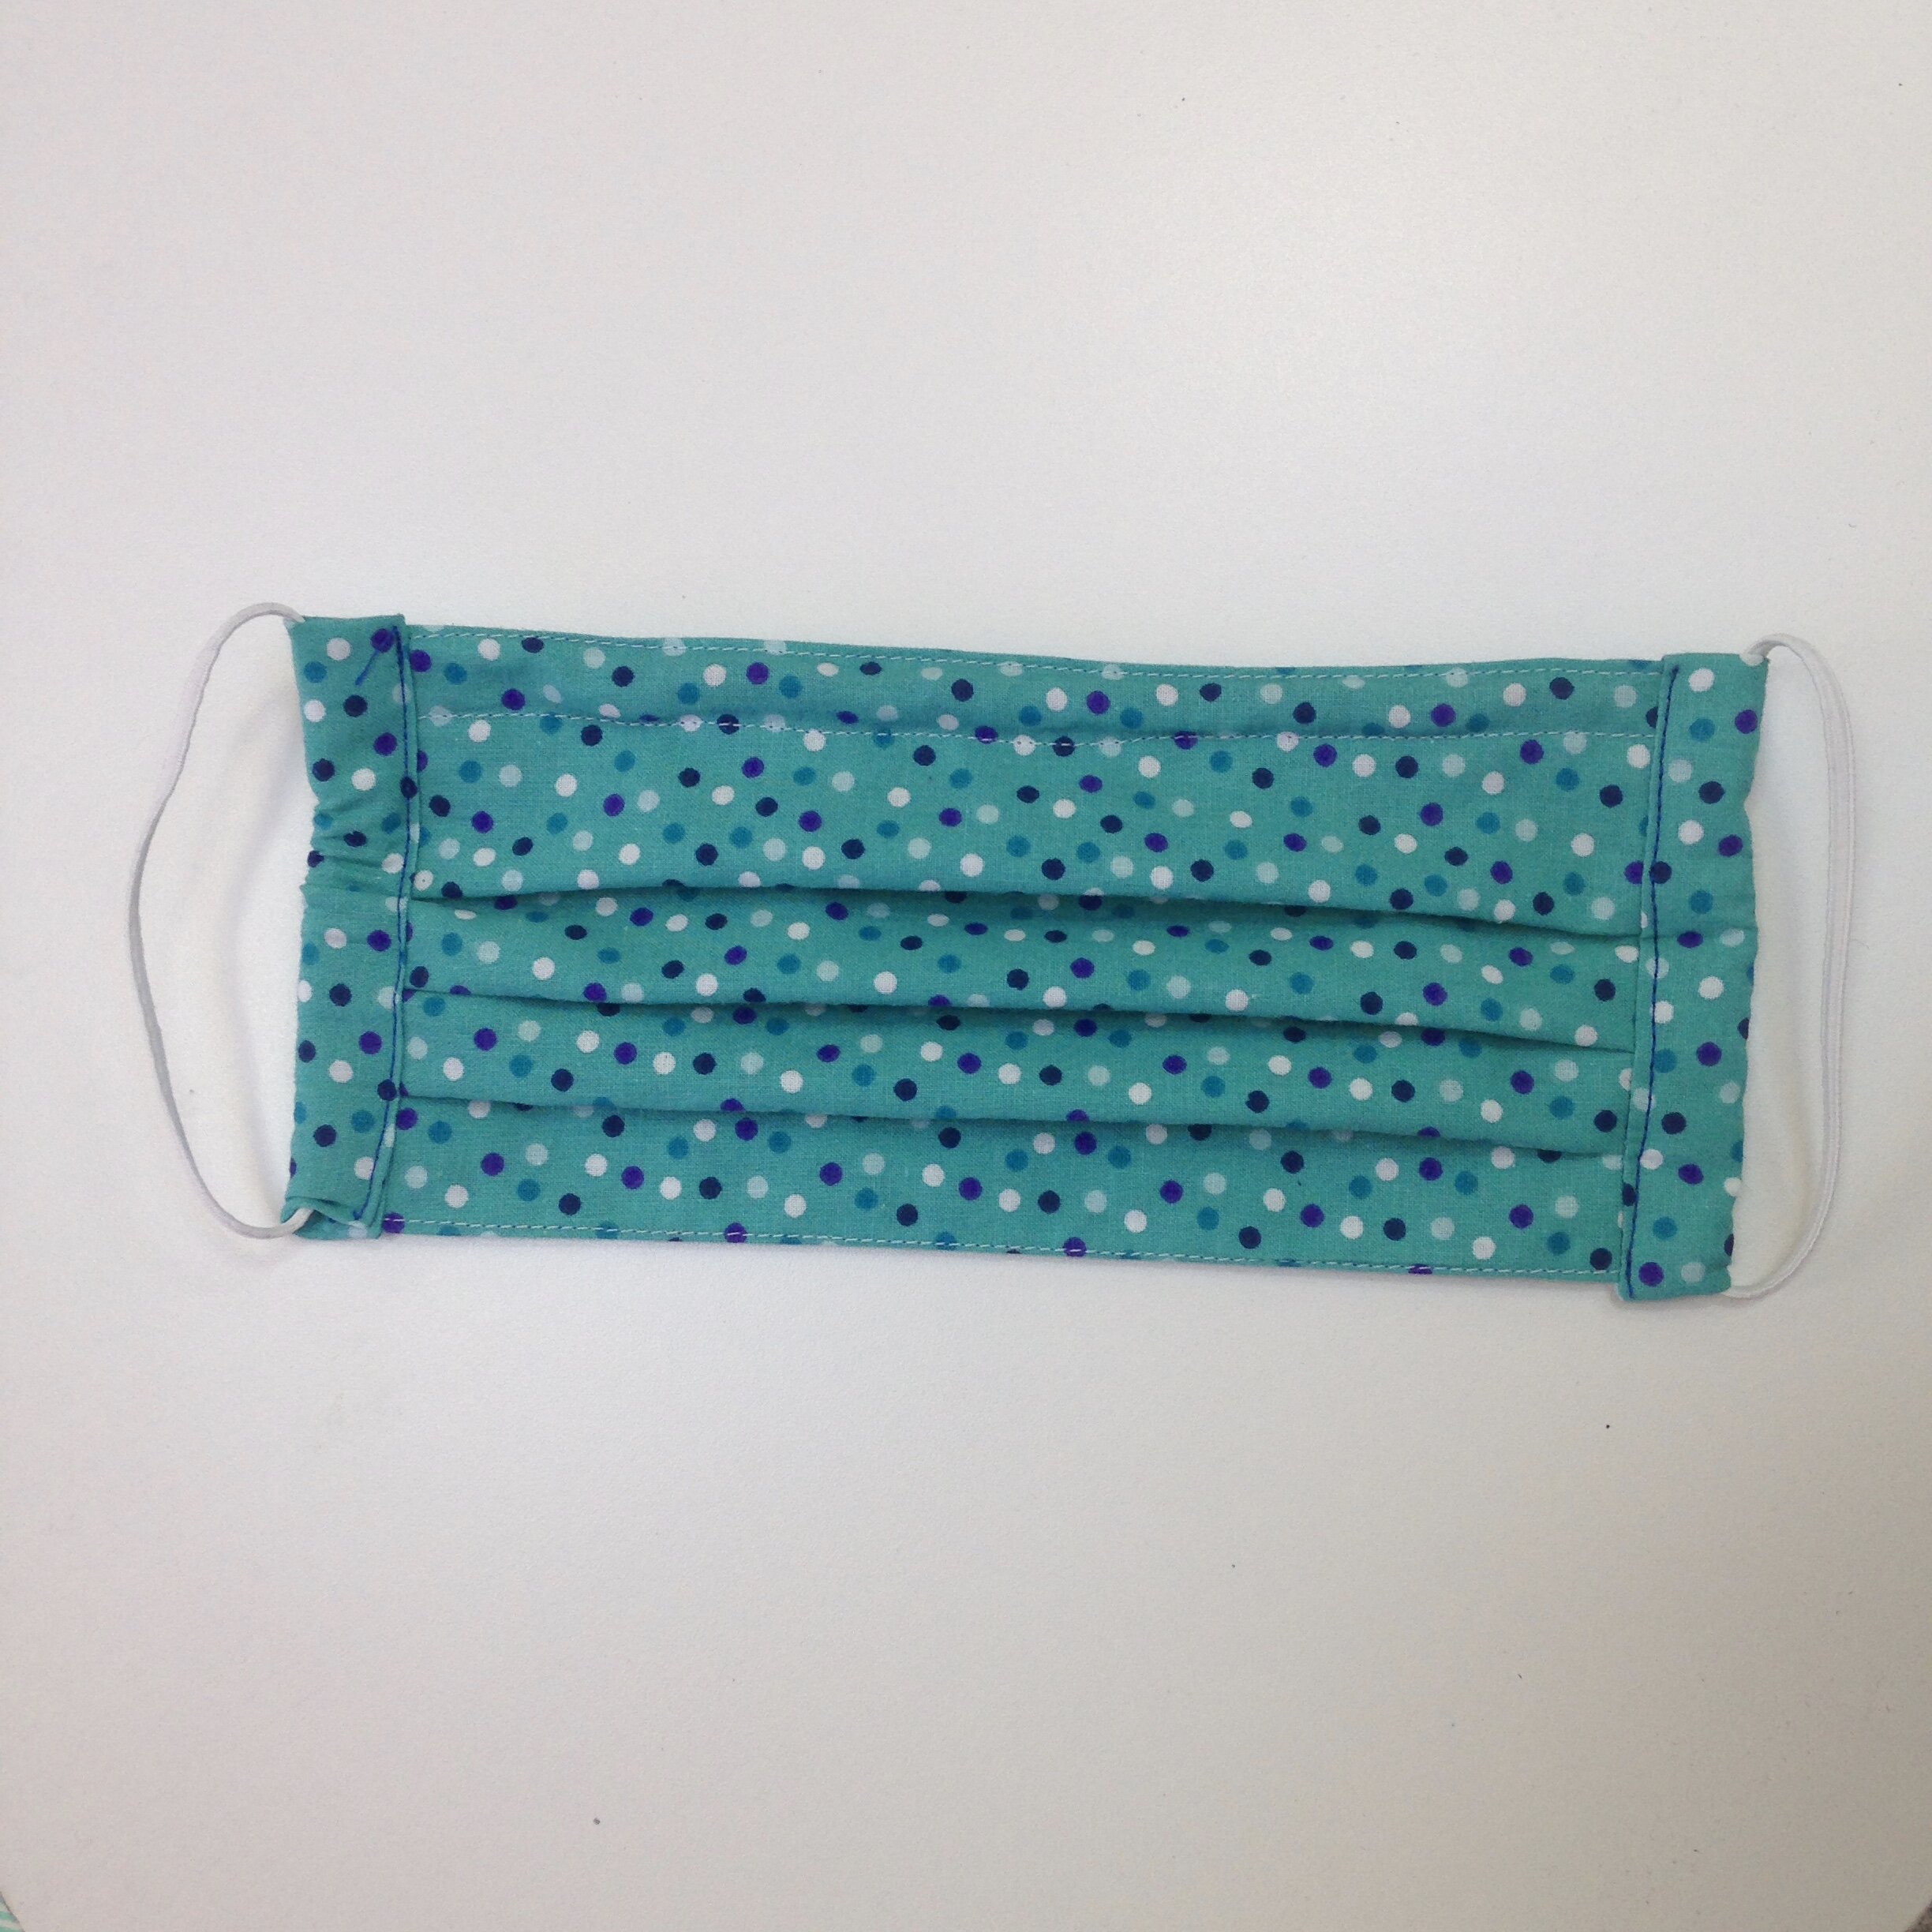
Congratulations!
Now its time to make a few more…